Four Steps to Grow Your Own Cannabis | How to Set Up and Maintain A Cannabis Garden
Growing your own cannabis can be a very rewarding experience in more ways than one. Taking care of your garden for a few minutes each day is a great way of relieving stress and anxiety from your daily work schedule. Another great advantage is the cost in savings compared to the cost of cannabis bought from a dispensary.
With a little time, effort, and the proper lighting system you can produce your own cannabis as good or better than any dispensary sells. Basically it only takes four easy steps to grow your own cannabis.
Step one Germinating and Planting:
I recommend germinating your seeds with a Jiffy peat moss pods starter kit. Reconstitute and saturate your peat moss pods according to the directions of the kit. Be sure to use natural spring water or well water for germinating. When placing your seeds in the saturated pods, BE SURE TO LAY THEM FLAT. Make sure the pointed end and the hinged end are laying horizontally, neither end should be up or down. Cover the seed with just barely enough peat moss to cover it. Put the clear top hack on the kit and place it on a germinating heating pad or mat. Do not disturb it for the next three days. Don't take the lid off to check on them, that will cause them to dry out too soon, Do not count the day you started them. The next day will be day one, you will not get any response on day one.
On day two you might see 1 or 2 seeds pop up if they are fresh and inte1jectic If so remove them from the tray and make sure they shed the seed casing and dear membrane covering the round starter leafs. If the membrane is not removed the plant will die. Now remove the netting around the peat moss pod and plant your new seedling pod and all in your growing pot filled with top quality potting soil like Happy Frog or Miracle Grow with moisturizing balls potting soil.


On day three the rest of them should pop up. Do the same, make sure they shed the outer casing, and dear membrane, and of course make sure they are not laying on the ground or coming out upside down. The root must be down in the peat moss and the leaf up toward the lights.
On day four if any seeds did not pop up, check to see if they germinated, if so take care of them like you did the others. Sometimes they germinate and do not break the surface. If they did not germinate you can keep trying for a few days. Be sure to use the heating pad for germinating only. Not for growing.
I have found that the best tools for removing the seed cap and membrane are your fingers and '3 couple of round tooth picks.
I personally prefer transplanting the new seedlings, peat moss pods and all to a 16 oz. Styrofoam coffee cup with the bottom perforated with an ice pick or tooth pick for drainage, for about two weeks before I transplant them to their permanent pot. At which time I like to start my 8 week growth period. For a total of 10 weeks of growing.
Step 2 Growth & Trimming:
After transplanting from my Styrofoam cup to a 3 gallon pot I flood them with an
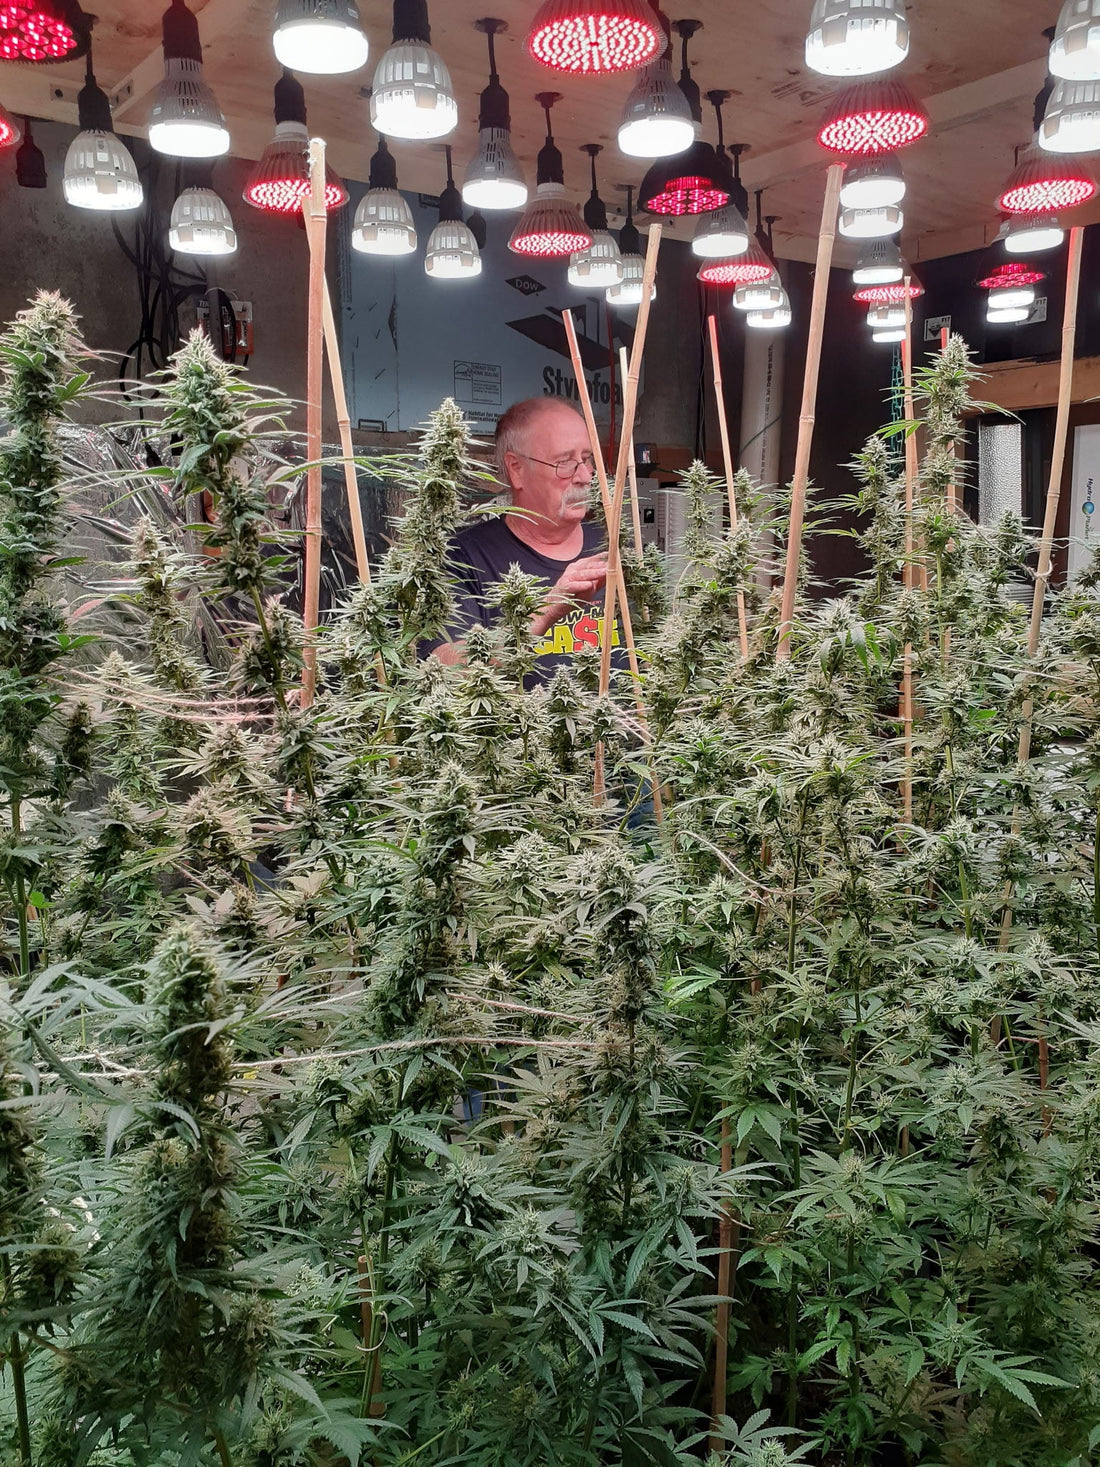
abundance of lighting. I use a 4'X 3' plywood light fixture with 24 low wattage high
performance LED Grow Lights. 18 white full spectrum lights and 6 Blue spectrum. For
growing 6 plants. After your plants are 3-4 weeks old you need to top l½em. "cut the top
sprout off" to encourage the plants to grow 2 cola buds rather than just one. During the
10 week growing period fertilize your plants with ¼ tsp. Of miracle grow per gallon of
water. DO NOT OVER FERTILIZE THEM. You also need to cut the big sucker leaves
off your plants 2 or 3 times during the growth cycle. Put your lights on a timer and run
for 16 hrs. daily during the growth cycle.


Step 3 Budding Cycle:
When you began budding your plants give them a fairly good trimming to get the big
leaves out of the way so the light can reach all of the plant. When budding I like to use a 50/50 ratio of lights, 12 white full spectrum and 12 deep red spectrum lights.
Reduce your lighting on the timer to 12 hrs. on and 12 hrs. off daily. Change your
fertilizer to Bat manure from Madagascar. Follow their directions. You can buy it at
garden centers or on Amazon. I prefer the 0-13-0 hi phosphorus mix. If you have trouble
finding it you may substitute Miracle grow liquid African Violet plant food. @ wall-mart


Step 4: Flushing, Harvesting, Drying, & Storage:
Seven days before harvesting your plants don't give them any more fertilizer. Just give
them fresh water, this will flush the chemicals out of them. Follow the instructions on
your seed pack to determine the optimum time for harvesting, usually 7 to 9 weeks.
If you pick them too early you will not receive full potential from your plant. If you
notice a white tip or a cork screw type growth on the tip of your cola bud, you've waited
too long. It is very important to harvest them at just the right time. Cut your buds from
the plant and trim off all excess leaves, leaving only the bud and stem. Hang your buds
on a string I use fishing line for 4 or 5 days sometimes more depending on heat and
humidity. Use a very small fan for some air movement. After they are dried I like to cut
the buds from the stem, wrap the buds in wax paper, to prevent the resin from sticking to the vacuum seal bag, and vacuum seal them. If stored in a freezer (that doesn't have a
frost free cycle) they will stay fresh for years or longer.
-Randy Miller.
Email: cannabisgrwoingsupplier@gmail.com
For the best lighting equipment available please visit my website at:
www.cannabisgrowingsupplier.com